
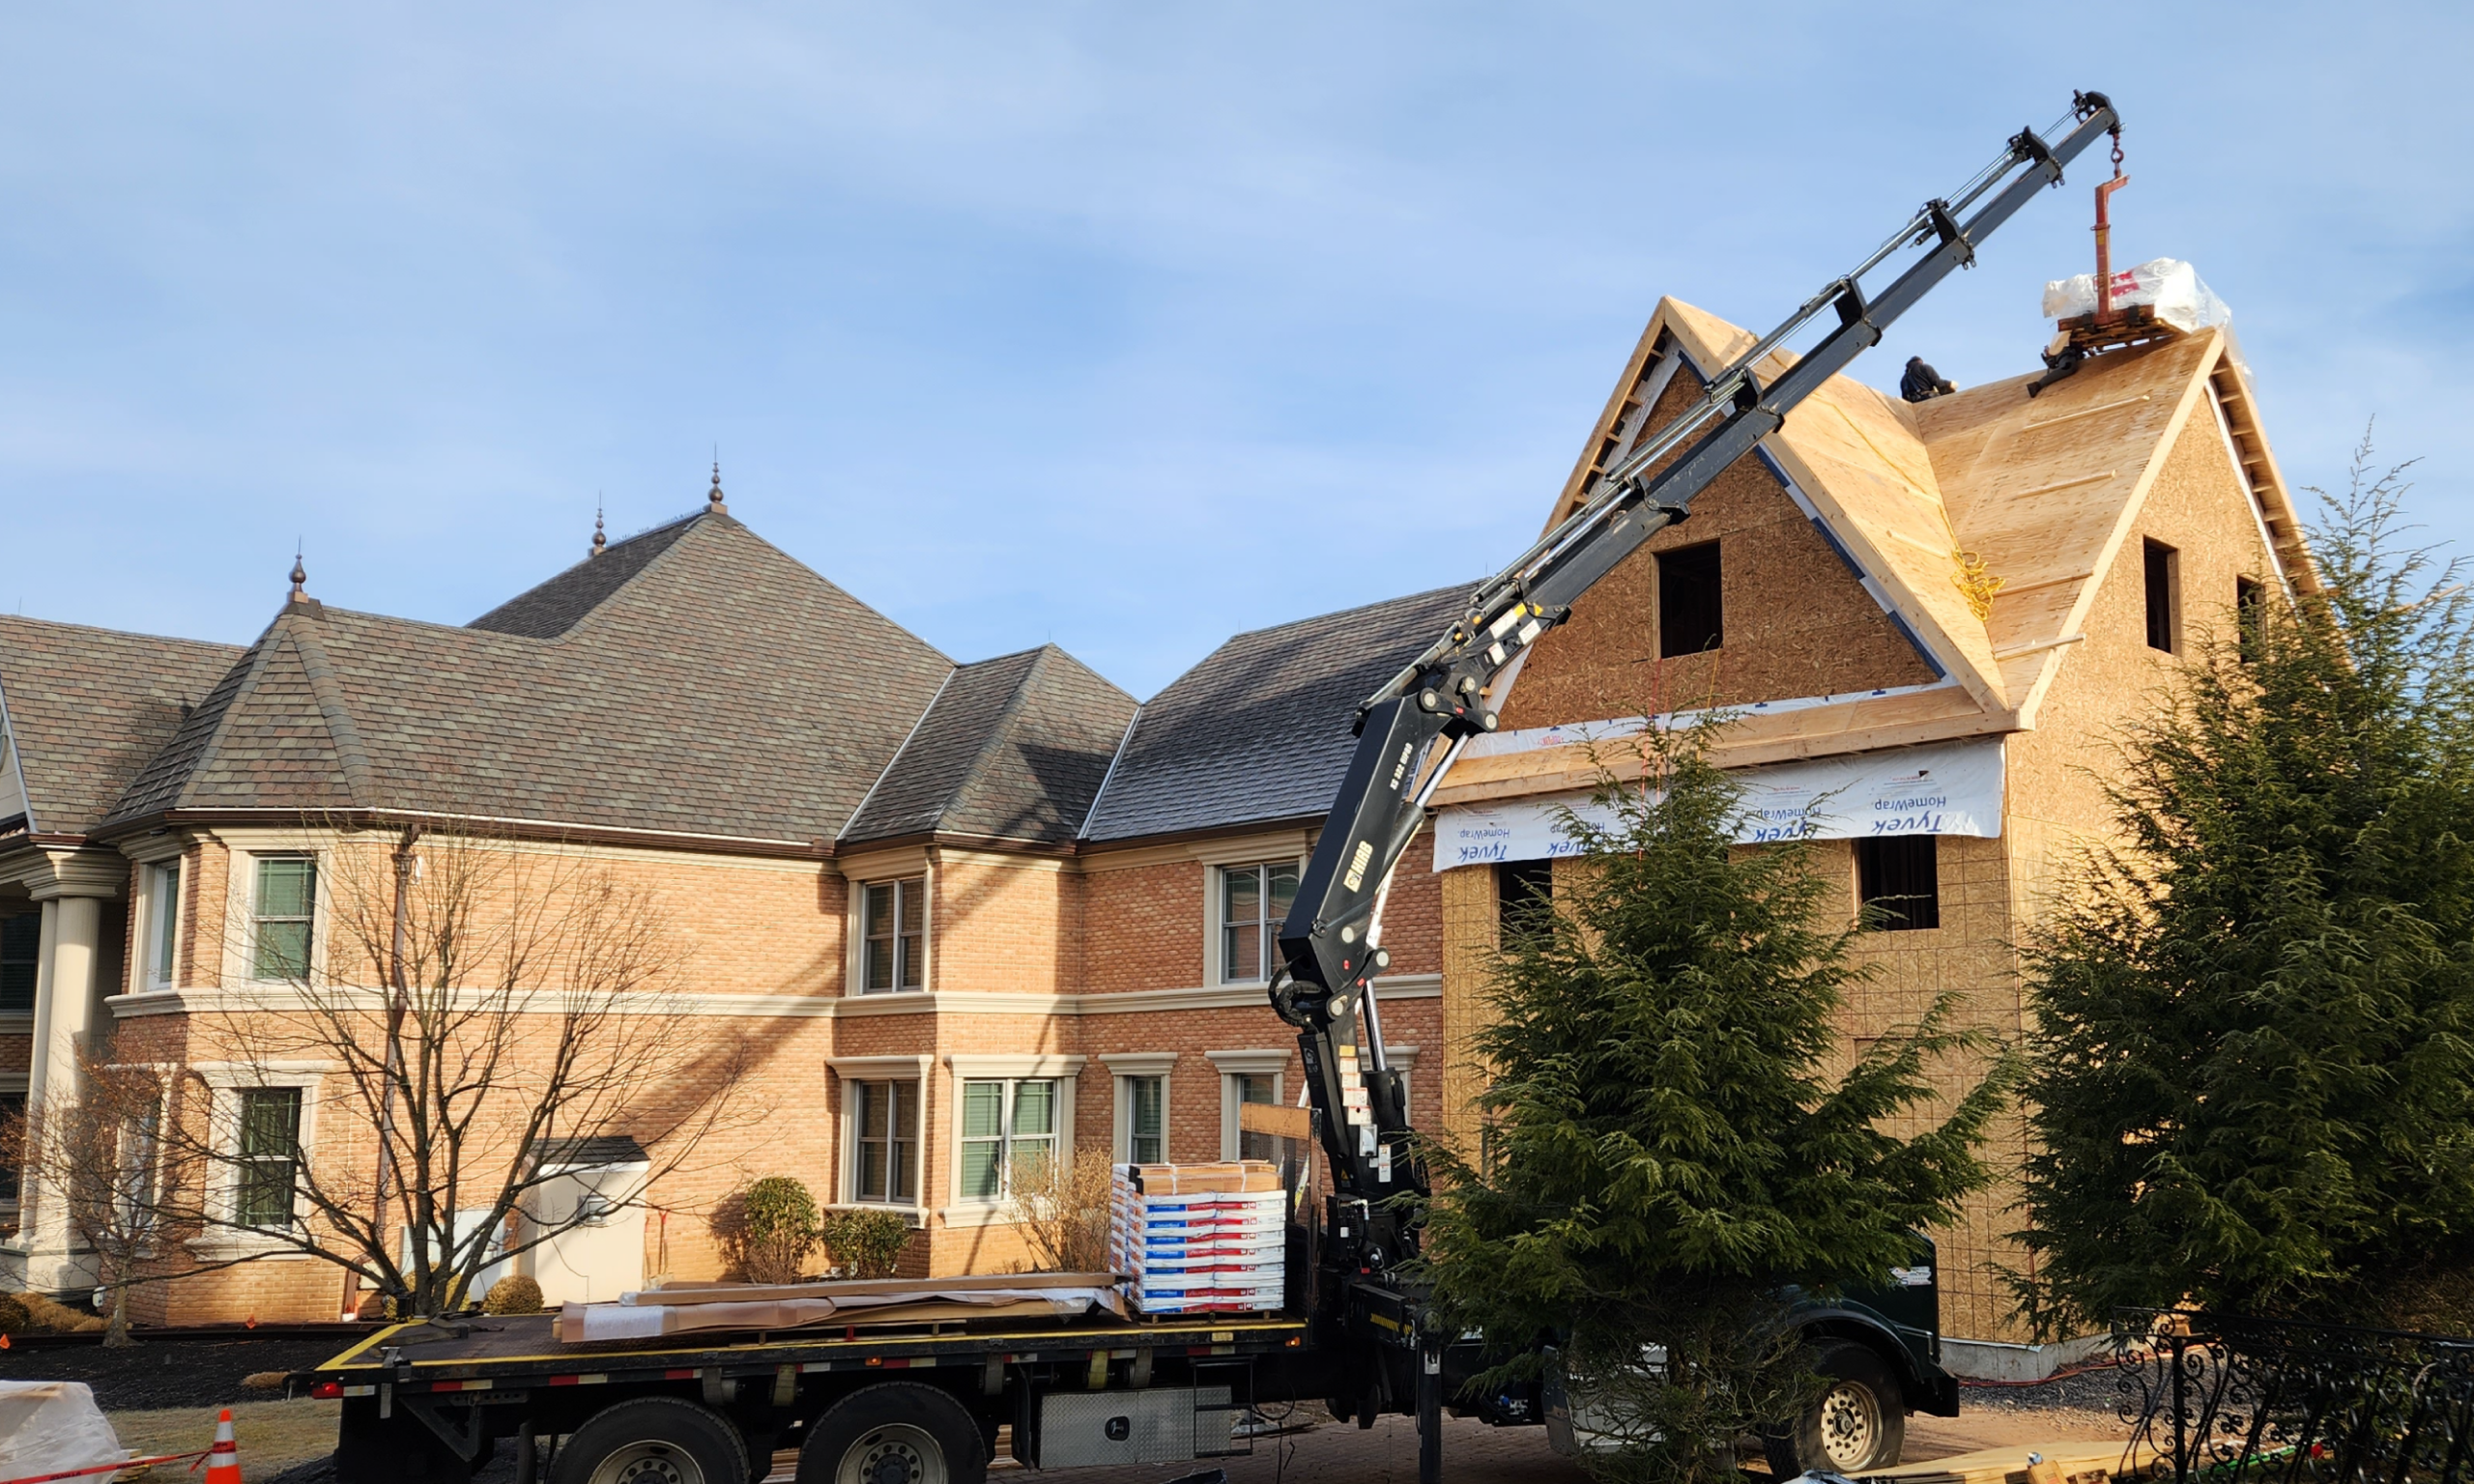
When a flat rowhome roof reaches the end of its lifespan, a complete replacement is the best way to ensure long-term protection for your property. For many attached properties across Fishtown and Fairmount, a modified bitumen torch-down system offers an exceptionally durable, multi-layered solution. This installation process fuses thick, rubberized asphalt sheets together using a specialized propane torch, creating a seamless waterproof barrier.
Because this installation method involves open flames and structural work, understanding the exact steps ensures your project is completed safely, correctly, and to the highest industry standards.
Phase 1: Complete Tear-Off and Roof Deck Inspection
A durable flat roof installation requires stripping away all old, failing roofing material down to the underlying wood deck. Laying new roofing sheets over old, compromised materials traps moisture and hides underlying framing problems.
+——————————————————-+
| Torch-Down Installation Phases |
+——————————————————-+
| 1. Complete Tear-Off down to bare wood deck boards |
| 2. Replace any rotted or sagging roof deck timber |
| 3. Install fire-resistant fiberglass base sheets |
| 4. Torch-fuse the rubberized asphalt cap sheet layers |
+——————————————————-+
Once the old roof is removed, the bare wood deck boards are carefully inspected for dry rot, sagging, or water damage. Any soft or damaged planks are cut out and replaced with high-strength exterior-grade plywood, creating a flat, sturdy foundation for the new roofing system.
Phase 2: Installing High-Density Polyiso Insulation and Base Sheets
Next, a high-density polyisocyanurate (Polyiso) insulation board layer is fastened down to the clean wood deck. This insulation boosts your home’s R-value, improving energy efficiency while creating a smooth surface for the roofing rolls.
A fire-resistant fiberglass base sheet is then laid down over the insulation boards. This base sheet acts as a protective shield and provides a strong foundation for the top roofing layers. It is fastened down securely using specialized roofing screws and wide plates to ensure the system can withstand high winds.
Phase 3: Fusing the Modified Bitumen Cap Sheet Layer
The core step of the process is installing the modified bitumen cap sheet roll. The installation team rolls out the material, aligning it carefully along the lowest edge of the roof to ensure proper water drainage.
[Propane Flame Application]
\
v
(Unrolling Cap Sheet) —-> [Melts Backing Asphalt]
===================================================
[Fiberglass Base Sheet]
Using a specialized propane torch, the technician heats the underside of the asphalt roll as it is unrolled. The heat melts the bitumen backing, fusing it directly to the base sheet and creating a watertight bond along all overlapping seams. This thermal fusion process eliminates the need for volatile glues or temporary tapes, creating a continuous waterproof seal across the entire roof deck.
Phase 4: Setting Perimeter Flashings and Wall Counter-Flashings
The final phase focus on waterproofing the perimeter junctions where the roof meets brick parapet walls and chimneys. The modified bitumen sheets are extended up the vertical sides of the walls to prevent water from backing up behind the roofing material.
Heavy-duty aluminum counter-flashing is then anchored into the masonry joints directly above the membrane termination line and sealed with a premium, weather-resistant polyurethane sealant. This dual-layer flashing system keeps wind-driven rain and snow from getting behind your new roofing system, completing a durable rowhome roofing installation designed to last for over twenty-five years.
–
Looking to replace your aging flat roof with a heavy-duty torch-down system? Work with an experienced, fully certified team that prioritizes safety and quality craftsmanship. Contact Philly Roofing LLC today to schedule your comprehensive on-site roofing consultation.